Description
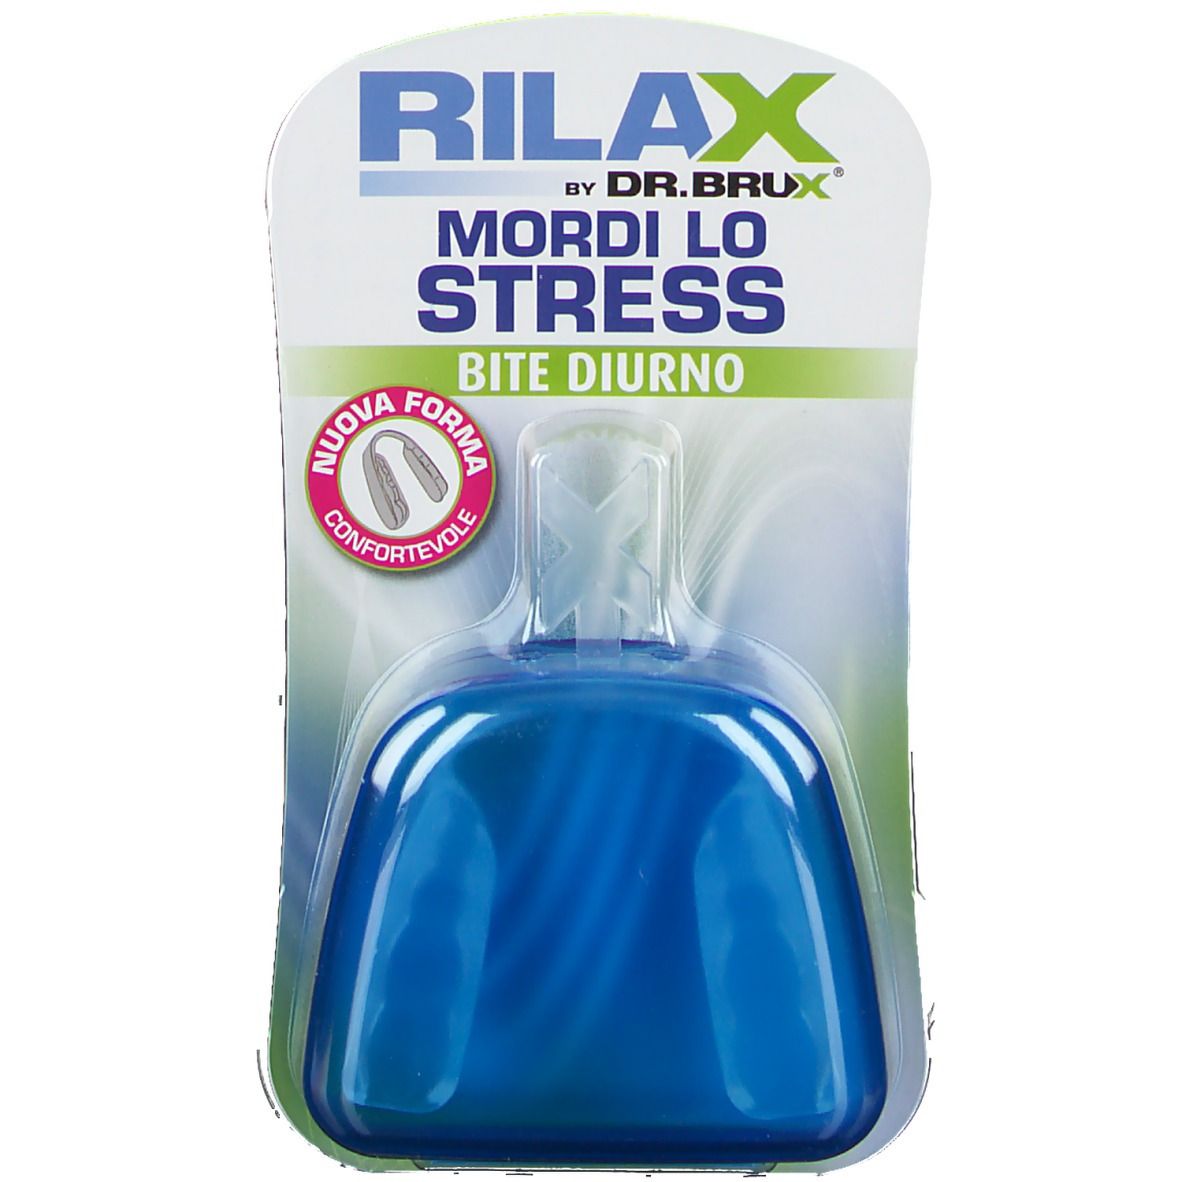
DR.BRUX® Day Bite
Dr. Brux is a practical self-modeling bite indicated to protect your teeth from bruxism or grinding.
- Innovative: Anatomical shape for high comfort
- Adaptable: Thermo-moldable material
- Hygienic and colorful
Innovative: made with two programmed hardnesses
Dr. Brux®, a practical self-modeling bite, has an anatomical shape that offers high comfort thanks to a particular thermoplastic material with two different hardnesses.
The first, the side wall, to give stability and comfort, the second, occlusal plane, to create a support surface that facilitates the slipping of the teeth during grinding and makes the splint resistant to wear.
Hygienic: Dr. Brux® comes with a protective case and is made in four different colors to be easily recognized in the context of a family unit.
How to use:
Phase 1: Preparation
What you need to get started: A kettle or a saucepan to heat the water a bowl to hold the heated water a clock or a timer. A mirror to facilitate the positioning of the bite.
Carefully follow the instructions below to obtain a correct fit of the bite. The adaptation must take place on the teeth of the upper arch.
Phase 2: Adaptation
Boil the water for 3 minutes and pour it into a container.
Remove the bite from its case and take the fork for adaptation, tilting it down, and insert it into the bite through the holes present. Insert the bite in the mouth to become familiar with the following maneuvers.
Hold the adaptation fork and completely immerse the bite in boiling water for 7 seconds.Remove the bite from the water and shake it vigorously to remove the residual water and let it cool for a few seconds, in doing so the bite will be hot but will not burn.
Slightly widen the walls of the splint to facilitate the insertion of the teeth. Make sure that the walls of the bite do not bend inwards and are bitten.
Position yourself in front of a mirror and insert the bite in your mouth, closing your teeth without clenching too much. Keep your lips closed for at least a minute and suck firmly to eliminate the air inside the mouth.
During the suction, compress the bite from the outside against the dental arch by lightly pressing with the fingers on the mouth and from the inside push with the tongue on the frontal incisors for at least one minute. It is important that the splint is made to adhere to the teeth and not to the gums.
Phase 3: Stabilization
After a few minutes, take the bite out of your mouth and immerse it under a jet of cold water. Remove the fork for adaptation from the bite, which is now ready to be worn. If the fitting procedure is successful, the bite will adhere to the upper dental arch even if you keep your mouth open.
If the sides of the bite are bitten, immerse the device again in boiling water and lift the crushed part. On the other hand, if the bite is not very stable, repeat the adaptation operations.


Reviews
There are no reviews yet.